For years, I have thought about composting, but the task somehow seemed too overwhelming. Given the small space I have, it was always easy to put this on the back burner and just buy compost from the local garden store when needed. But, in an effort to reduce my own impact on the environment and also to be more in touch with natural processes, I recently decided to dig in to this. And I'm happy to say it is not nearly as cumbersome as I'd otherwise assumed! I am no agriculture expert, but I figured by sharing my little journey and what I have learned, it might inspire you to reduce your own waste footprint in your kitchen, as well as save you money in enriching your little green friends.
Below, I'll break down what you can compost, explain "green" and "brown" materials and the importance of keeping them balanced, as well as briefly outline how you can use compost in your gardening efforts.

You can use composting as a teaching opportunity for kids! Luci loves gathering our "green" material to add to our bin, and I love seeing her grow more aware of nature's processes and cycles.
Benefits of composting at home
There are two benefits to taking on composting at home. The first, and most obvious, is to lessen your waste footprint. And although composting at home is much easier than I thought, if you're not interested in doing so, there are several local services that will pick up your scraps for the sake of composting (just like recycling and garbage).
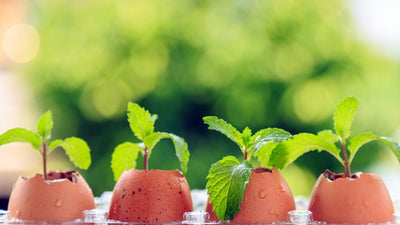
The second, and in my opinion, most fun part of composting at home, is to create plant food for better-thriving vegetation. The Pete & Gerry's organic eggshells in my compost are an excellent source of calcium, while coffee grounds are good nitrogen contributors that help the composting process. In addition to nitrogen, compost contains countless macro- and micronutrients such as phosphorous, potassium, copper, iron, manganese, sulfur, magnesium, iodine, and zinc. These natural fertilizers are hard to come by in store-bought soil, but present in staggering quantities in most at-home compost. Adding compost to anything from your garden to a potted plant also neutralizes the pH, which benefits already-existing soil or potting mix and improves plant growth.
What to compost and what not to compost
Before we get started, it's important to understand what you should and shouldn't compost. Compostable materials are broken into two categories: "brown" materials and "green" materials.
"Green" materials are fresh grass clippings, weeds, and kitchen scraps (which you'll collect in an indoor bin, discussed later). These scraps should include things like uncooked vegetables and fruits, tea bags, coffee grounds, and of course, your eggshells. It's a good idea to crush your eggshells a little extra, since they decompose pretty slowly. "Green" materials are rich in nitrogen and help speed up the process of decomposition––think of them as materials that are still "alive."
"Brown" material is usually found outside, and includes things such as dried leaves, dried grass clippings, pine needles, corn cobs, and hay. These materials can also include items from inside your house, like newspaper or coffee filters. "Brown" material is rich in carbon, which feeds and fuels the microbes in your compost.
There are many materials to avoid composting, including anything containing fats, oil, meat, or processed foods. (Note: If you sign up for a composting service to pick up your scraps, you can also include many of these items, so be sure to read their specific guidelines.)
Selecting your compost containers
Once you're ready to begin collecting materials to compost, you'll need two different containers: one to keep indoors for kitchen scraps, tea bags, coffee filters, and other household compostables, and one to keep outdoors for combining those household compostables with "brown" materials you find outside. The outdoor container is also where the composting process itself will happen.
Indoor kitchen scraps compost container
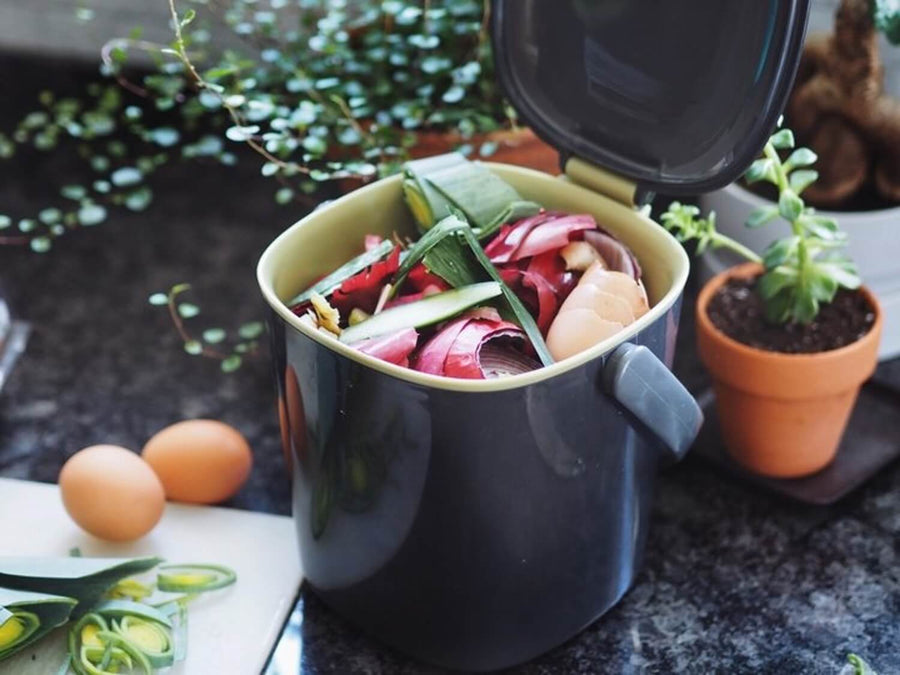
In order to easily collect your "green" materials (and contain any smells), you'll want to select a small container to keep on hand. I usually keep my bin under the kitchen sink and place it on the counter when I start to cook. This makes it extra-easy to keep my workspace clean and ensures that all of my scraps make their way into the bin.
This bin can be anything that you don't mind putting clean scraps into, but if you search online, there are several brands that make compost-specific little bins. I ended up buying my container online and tend to empty it every other day.
Outdoor compost container
This can be anything from a chicken-wire fence, wooden box, standing pail with a few holes for air circulation, or a tumbler (see images at the end for reference). As you spruce up your yard, weed your garden, mow your lawn, or rake leaves, you can add these "green" and "brown" materials to your outdoor compost container, making sure to leave room for your "green" kitchen scraps as you collect them indoors. It is recommended to mix your compost regularly (either by turning it with a shovel or giving your tumbler a few spins) to help speed up the breakdown process, but this is not necessary. As I have a pretty tight space, I wanted to keep my compost area clean and compact and have a relatively quick turnover with the product, so I ended up investing into a small tumbler compost that spins for mixing and putting it right near my recycling area. If you make your own container, you want to make sure it is critter-proof, as creatures of all sizes will find it a pretty attractive treasure trove for scavenging.
Keeping your compost balanced
To kickstart the decomposition process, begin combining your "green" and "brown" materials in your outdoor compost container. Each time your kitchen scraps container fills up, bring it outside and empty it into the outdoor container, using a shovel to roughly combine it with any materials already in the outdoor container. At all times, make sure you have about a one-to-one balance of the two in a moist, but not soaking, environment. Millions of microorganisms that live in plants will start to break down the food and create nutrient-dense soil for you within 4 to 12 weeks. I will further break down the process below, but it's really as simple as that.
There are a few ways to gauge how well you are balancing your compost: if you notice an odor, then it probably has too much nitrogen, so adding more "brown" material will help. On the other hand, if you have too much carbon/"brown material", then the process will take longer to complete.
Keeping your compost moist
Lastly, you want to make sure that your compost is always evenly moist. I think of this as the level of moisture in a topsoil or compost bag that you buy at a store. If you live in a particularly dry region, try covering your outdoor container with a small tarp to keep the moisture and warmth inside. If you live in a humid or rainy area, an uncovered container will still retain moisture, but take care not to let it get too muddy.
Keep your eye on "green" and "brown" balance and make sure there is enough moisture to get things rolling.
Once you see firsthand the huge difference that compost makes in the quality of your soil and how well your plants grow, you'll never go back. I tend to add compost to my flower and vegetable beds in the spring and mix them into the soil before adding new plantings. I also feed the plants two or three times throughout the growing season. If you have a small space and tend to pack your plantings together like I do, making sure your soil has enough nutrition is critical. For midseason feedings, you can add compost in the root hole as you are getting new plants in or on the topsoil of existing vegetation and massage it in. The idea is that you keep nutrition close to the root system for the most optimal results. I also tend to add an inch of compost to my topsoil when I close out the garden for the winter, which is a good practice, ensuring you have nutrient-rich soil waiting for you in the spring.


